


Quilt Guild by the Sea’s 2022 POSTCARD SWAP
We are announcing a fun event with a little project to help relax us. The Postcard Swap is a great way to keep in touch and share with other guild members. Anyone can participate. Here is what you must know:
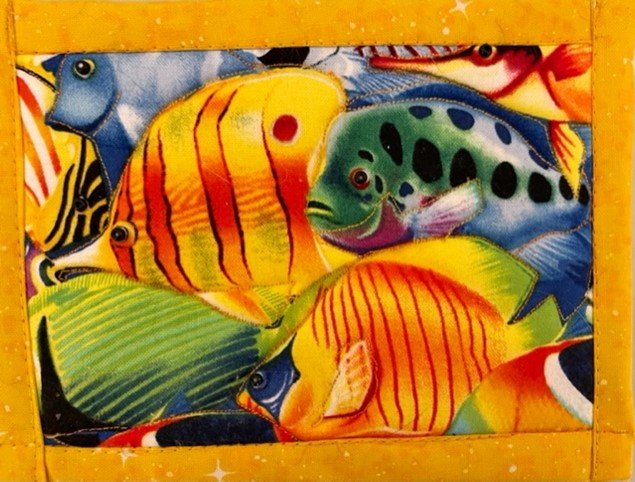
· Each member is to create only one 4” x 6” postcard.
· Any technique (piecing, paper pieced, etc.) may be used to create your postcard. The postcard should be quilted but embellishments are not required. You may spend as long as you like on this project but having FUN is required!
· Pictures of your postcards (JPEG format) should be sent to Deb Shoemaker via text at 954-629-1720 or email DebShoemaker22@gmail.com no later than March 30th to be included in the newsletter and to receive the name and recipient of your postcard.
Go ahead, mail it!
SUPPLIES:
Postcard top fabric: Enough to make a 4.5" x 6.5" top.
Batting: One 4.5" x 6.5" piece of any batting.
Fusible stabilizer: One 4.5" x 6.5" piece. My two favorite stabilizers for quilted postcards are Pellon Peltex #72F and Pellon Fuse-N-Shape. These are both ultra-firm, double-sided fusible stabilizers. If you can’t get either of these, any ultra-firm or heavyweight fusible stabilizer will do.
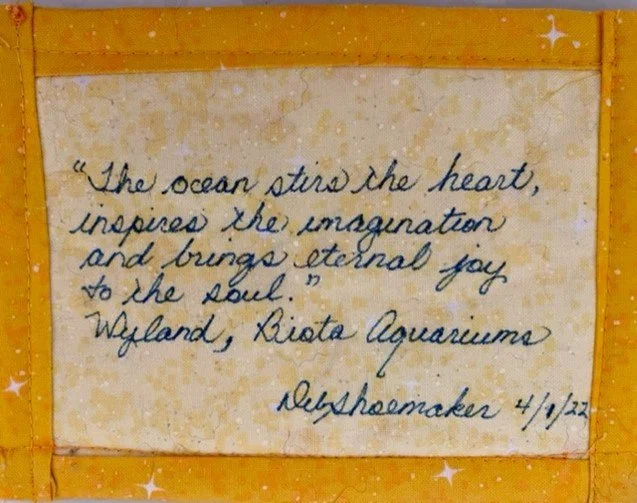
Postcard backing material: You can use either light-colored fabric or cardstock to back your postcard. Cardstock is easier to write on, but fabric is easier to work with; you need a 4.5" x 6.5" piece.
Binding fabric (optional): If you choose to add binding to your postcard, you will need a 2" x 24" piece of quilting cotton.
Thread: I use 50 wt thread to piece my postcards. For finishing the edges with a satin stitch I usually 28wt or 12wt.
Shipping materials: If you send your postcard without an envelope you just need a stamp! Ask the post office to hand stamp. If you choose to use an envelope, I use a 5”x&” padded envelope.
Straight pins or binding clips
Basic quilting supplies
INSTRUCTIONS:
Start you Postcard Top:
Quilted postcard tops can be made using any technique. This can be a great opportunity to try out some quilting techniques, appliqué, fussy cutting, or improv piecing.
Baste And Quilt
Baste your postcard top and batting together, as desired. I prefer to use a walking foot but is not necessary when free-motion quilting. The walking foot will help feed everything through nice and evenly.
Fuse Stabilizer To Postcard
Place your fusible stabilizer between your quilted postcard top and your backing material. Follow the instructions on the stabilizer packaging and adhere all postcard parts together.
NOTE: I prefer to use cardstock on the back of my postcard. The Pellon 2-sided Foam fusible that I use requires a wet press with water to activate the glue. I use a very fine mist from a small spray bottle; do a test! That’s it! Hope you had fun.
TRIM
Using a rotary cutter and quilting ruler, trim your postcard down to 4” x 6”. If you’re using a cardstock baking for your quilted postcard remember that paper dulls blades quickly; use scissors and blades that are for paper use only.
Finish Your Quilted Postcard
Use Zig Zag Stitch
To finish the raw edges of your card, an easy method for finishing your postcard is to use a short, wide zig zag stitch (3.5 wide x .5 long) around the edge. I use an accent thread and a walking foot unless I decide to do some free motion quilting.
With the cardstock side up, slowly stitch around one side of your postcard until you reach a corner. At the corner, when your needle has reached the end of your card and is in the left position, lift your presser foot up and pivot your card 90 degrees. Keep your card as close to the needle as possible while you’re pivoting, to avoid any long stray threads. Continue stitching until you reach the beginning of your satin stitch, joining the two ends together. I usually stitch around the card twice.
Use a Binding
Binding can be another option to finish your card! This method adds an extra “quilt” touch.
Press the 2" x 24" piece of fabric in half the long way to create quilt binding. A quilted postcard binding differs from a regular quilt binding because the two binding ends are joined together before sewing them to the card.
To do this, take two straight pins and insert them through the center of the binding 20" apart (the perimeter of your postcard), leaving about 2" extra on each side of the pins. Lay the two pinned fabric strips on top of one another, right sides together, so each pin essentially goes through the same hole as the other. With your two ends at 90-degree angles from each other, sew at a 45-degree angle, joining the two ends. Trim the excess off and press the seam open.
Sew your binding loop to the back of your card just as you would binding to a quilt. Turn your binding to the front of the card, and pin or clip in place. Finish with your preferred method. I prefer to finish mine by hand.
Mail Your Postcard
Add a short message to the back of your postcard and add the address if you are planning to use traditional mail. You may also place your card into an envelope, put a stamp on the back, or take it to the post office for a hand stamp.
Postcard tutorials may also be found on the Internet and YouTube.
6 Ways to Make Easy Fabric Postcards
Fabric Postcards: Easy Sewing Tutorial with Rob Appell of Man Sewing:
Stitched Fabric Postcard Tutorial
How to Sew a Fabric Postcard - Updated Version